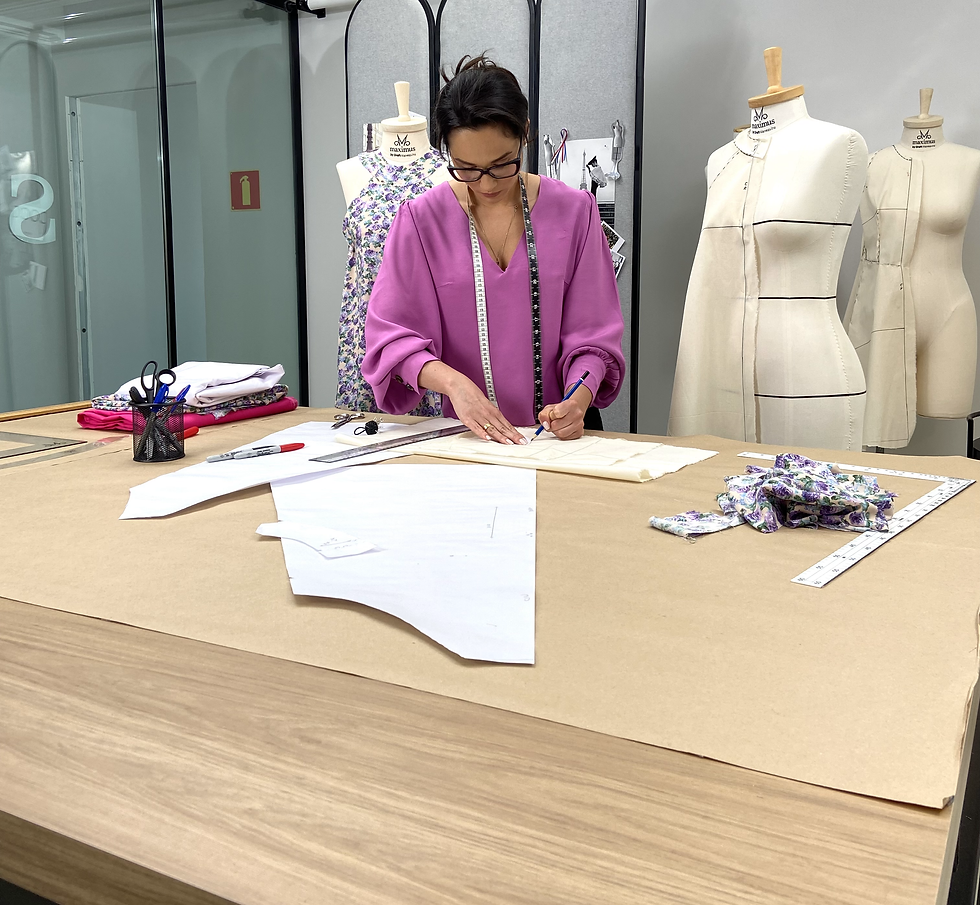
HOW TO TRANSFER A MUSLIN DRAPE TO PATTERN PAPER
- Francys Saleh
- May 21, 2022
- 4 min read

Do you know how to transfer a drape to pattern paper?
Calm down, if this term is new to you, don't worry, I'll explain it right here.
This step is very simple, then consists in transferring the model to paper, with the tracing of all its shapes and all the details of each part of the muslin, that is, the mold made in draping.
At this stage it is similar to the way we work with the final mold in flat pattern, since each part of the model made must have information and markings on notches, pegs, holes indicating the height of pockets or other important details of the mold.
In addition, the proofing and correction steps of the mold and grading are exactly the same as those used in flat modeling and draping, with the same details.
This is a great exercise for anyone who is just starting to make molds and learn to model, as it is an easy and effective way to learn how to manipulate the rulers and analyze the pattern curves and understand how they form.
This step starts after the draping is made on the dummy, so, to start the flattening, we must remove the screens from the dummy, taking care that all the lines of the mold have been made, because we need these lines when flattening.
Afterwards, we move on to the step of passing the screens, carefully, one by one!
And at this stage, a very important warning: the iron must not be steamed, as the steam will cause the fabric to shrink, and thus will change the lines of the fabric. And of course we don't want that to happen!
After we pass, we need to check the marked lines.
This planning step is always the same, that's why I'm going to teach here how we do the complete planning of the dress, but know that the process is similar in all cases of models that you are going to develop, that is, there's no secret.
You can define whether or not to use this pattern on paper. If this piece is unique, made just for you or a client, I recommend only correcting the mold lines.
We move on to kraft paper, when this mold is used on a large scale, as in industry, for example, or you can use this corrected screen and digitize it in a cad/cam software, if your company works with digital modeling.
Anyway, you need to "clean up" the lines of the mold, because when we are working on the dummy, there is no precision when we are marking with the pen and this is normal, that's why there is this step.
At this moment we support the rulers on the lines: when the line is curved we use the tailor's curve or hip curve rulers and the French curve, perroquet or pistolet rulers.
In straight lines, we use a traditional ruler and also the square, when we need to square lines, as in the case of a straight skirt hem, for example.
After the lines have been corrected, we move on to the step of adding seam allowance. At this point, the seamstress or pattern maker must work with the measurements that she is already used to and also analyze what finish she will do in the seam. I particularly work with the 0.5 cm measure.
Ah, I was forgetting, at this point it is also important to make the junction notches.
Junction pikes, what is it?
When we are going to sew a piece, we need to have a reference of which part we are going to join, and the seam junction notches help at this moment. You can determine how many notches you want to place in your pattern. We usually put it on the main points like bust, waist, hips and shoulders.
After finishing this step, we move on to the description of the mold components.
All molds should have this description, whether you're taking a test or working for a company.
Putting the descriptions in the mold makes it easier to work, optimizes your time!
Then adopt a standard way of naming your templates. I always like to use this sequence:
Pattern reference or description: place the name or code that identifies the model within the collection.
Size: Use the number or letter of the size of the respective mold. Ex. 40 or Size: M
Component part: Is it a part of a cutout, pocket, view? Describe each part!
Quantity: Enter how many times the pattern should be cut. If it is cut in the fold, you must also indicate in the mold.
Thread: It is identified with a straight line drawn in the center of the pattern and serves to identify the direction in which the fabric should be positioned for cutting. The direction of a yarn refers to the fit it will have on the body and normally, the yarn follows the fabric construction yarns, especially the warp yarns (thread in the direction of the length of the fabric). It can also be marked across, or at a 45º angle to the warp yarn, known as a skewed yarn. When it comes to fabric with a foot, as is the case with velvet, the thread marking must have the same direction for all parts of the component. The same occurs with fabrics with prints in one direction.
Markings: These are details that can help to make a piece by facilitating

Comentários